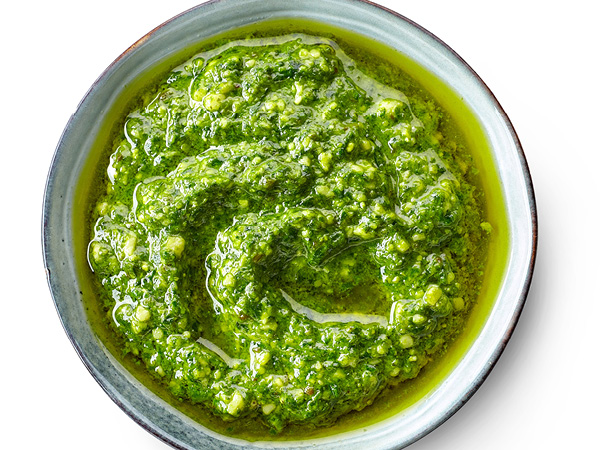
Pesto
Using a blender: Blend oil, garlic and nuts first, adding basil and garlic powder… then add cheese and s and p to taste. To thicken pesto, add more parmesan cheese, but remember it is salty, so you want to use less salt if you add more cheese!
Using a blender: Blend oil, garlic and nuts first, adding basil and garlic powder… then add cheese and s and p to taste. To thicken pesto, add more parmesan cheese, but remember it is salty, so you want to use less salt if you add more cheese!

Kitchen Safety Tips:
Use a cutting glove if available to protect yourself.
If you are uncomfortable using a knife, ask someone for help.
Step 1: Prep Veggies
Dice red onion and tomatoes.
Mince garlic.
Step 2: Avocado
Cut avocado in half and remove the pit. Spoon the flesh of the avocado out and put it into a mixing bowl.
Use a fork to mash the avocados.
Step 3: Mix
Add diced tomatoes, onion, and minced garlic to the bowl with mashed avocado and stir to combine.
Step 4: Season
Add lime juice and salt and pepper to taste. Mix all ingredients together.
Step 5: Dippers
Grab your favorite dippers!
Some examples:
Carrots, cucumbers, broccoli, ritz crackers, saltines, tortilla chips, etc.
Step 6: Enjoy!
Serve and enjoy!!
Kitchen Safety Tips:
Always use a pot holder!
Let anyone in your home know you will be using the stove.
Step 1: Prep Greens
Soak your collard greens in cold water for about an hour.
Scrub them clean.
Remove the leaves from the stems. We will only need the leaves, and not the stems.
Step 2: Prep
Prep your cutting station by laying a damp cloth down and placing your cutting board on top.
Rough chop collard greens, dice onion, mince garlic, chop bacon.
Make sure you do the bacon last to avoid cross contamination!
Step 3: Sauté
Heat oil in frying pan over medium high heat. Add bacon and cook about halfway through. Add diced onion and minced garlic, continue to sauté until onion is tender and everything is fragrant.
Step 4: Season
Add salt and pepper. Stir to combine.
Add in broth and greens. Stir to combine. Put lid on the pan.
They may not all fit in the pan at once, wait until they wilt which will free up some space in your pan.
Step 5: Cook
Continue to add greens and cook them until all have wilted, become tender, and turn a dark green.
Step 6: Enjoy!
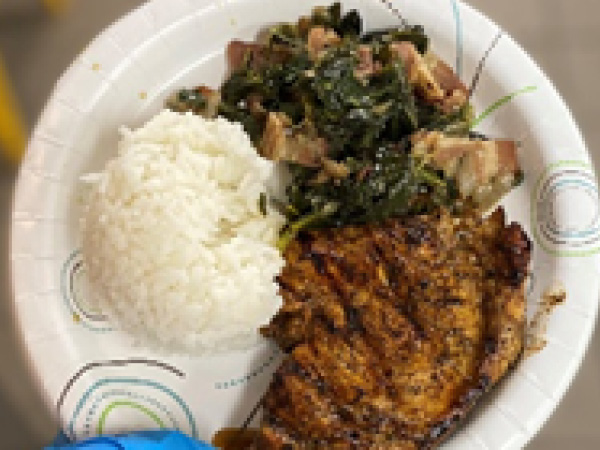
Serve with your favorite meal and Enjoy!
This can be stored in an airtight container in the refrigerator for about 3 days.

Kitchen Safety Tips: Always check the oven before turning on
Always use oven mitts
Make sure zucchini is fresh!
Step 1: Pre-heat/Zucchini
Pre-heat oven to 350 degrees
Wash and peel zucchini leaving skin on into small grated pieces (about 2 inches in length)
Step 2: Dry Ingredients
Whisk together in a bowl- flour, sugar, cinnamon, baking powder and baking soda and salt.
Set aside
Step 3: Wet Ingredients
In a separate bowl- whisk together eggs into oil, add vanilla. Remove whisk
Step 4: Combine
With a spoon or spatula, mix in dry ingredients in 3 parts to wet mixture… IT WILL GET THICK and STICKY!
Add in zucchini – this will thin the mixture, but still sticky!
Step 5: Add to tin & Bake
Using scoop or a spoon, fill each muffin liner in the tin ¾ of the way!
Bake at 350 for 22 minutes.
Step 6: Enjoy!
Let cool a few minutes and Enjoy!!
Store in air tight container for up to a week!
Kitchen Safety Tips:
Notify anyone in the kitchen that you will be using the oven
Always use an oven mitt!
Step 1: Cook Protein
In a sautee pan at med heat, add oil until hot and add garlic.
Cook halfway until light, add in your protein and set aside
Step 2: Make Sauce
In the same pan, melt butter, add onion powder, pepper flakes, parsley and s and p. Add lemon and cooking wine (if you like)
Once combined and lightly bubbling, add parmesan cheese
DO not burn
Step 3: Combine
Add protein and garlic/oil back to the pan and warm. Gently sir
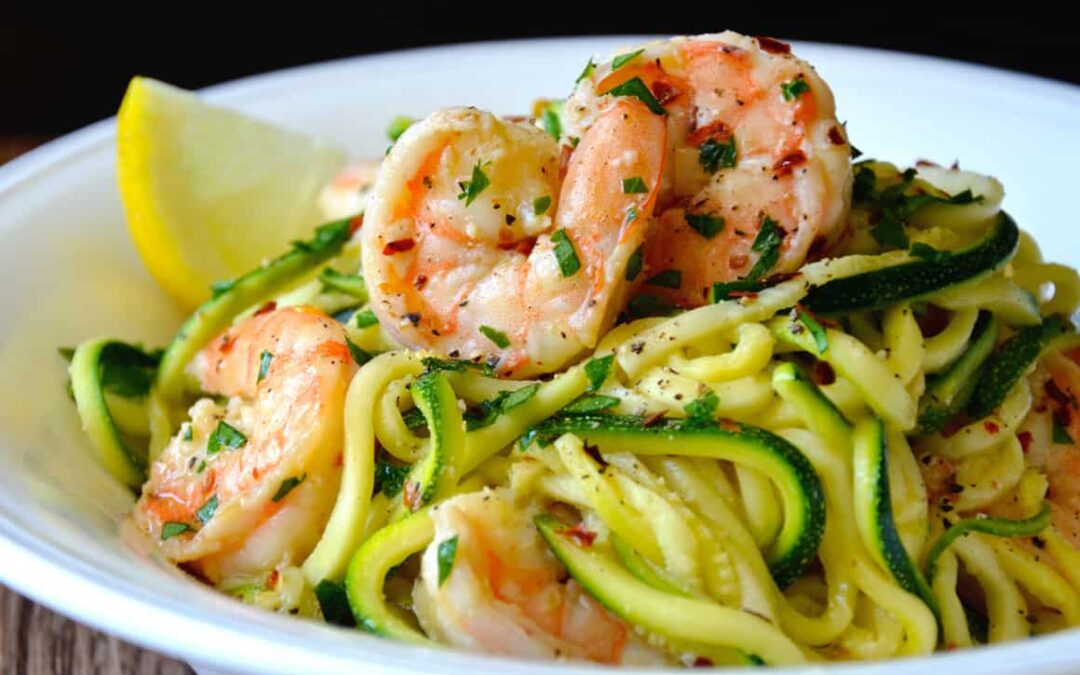
Step 4: Add Zoodles
Place Zoodles in sauce mixture and cook until tender, approx. 5 minutes
Step 5: Plate
Place plate, let sauce drain, top with parmesan
Step 6: Finish and Enjoy!
Enjoy!!
Don’t leave noodles uncooked more than a day!
Will get soggy
Kitchen Safety Tips:
Make sure to use pot holder when touching pots on the stove.
Turn the stove off as soon as you are done using it.
Step 1: Prep
Prep your cutting station by laying a damp cloth down and then your cutting board.
Finely chop some green onions, chop the others, and grate your ginger if using fresh.
Step 2: Boil
Add all broth ingredients to large pot with lid over high heat and bring to a boil.
Step 3: Filling
Minus the wrappers, add all filling ingredients to a mixing bowl and stir to combine.
Step 4: Fold Wontons
Put a teaspoon of filling in the middle of the wrapper. Wet the entire perimeter of the wrapper with water. Fold the wrapper in half to make a triangle. Take the right and left corners of the triangle and fold together. Seal it with water.
Step 5: Cook Wontons
Once broth has boiled, turn down to low and simmer.
Add wontons and simmer in broth for 4-6 minutes to cook the meat inside the dumplings.
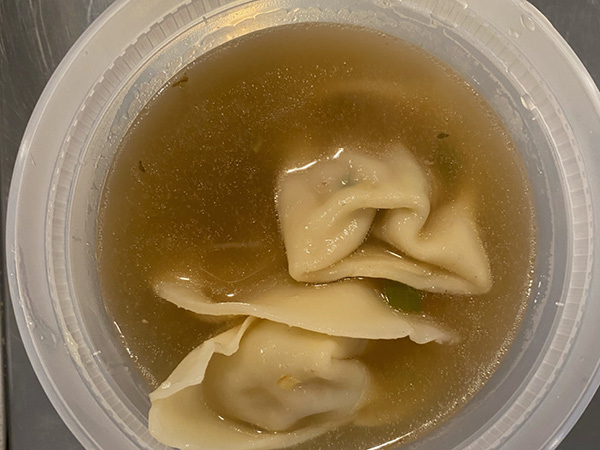
Step 6: Serve & Enjoy!
Serve soup in bowls and Enjoy!!
This can be stored in an airtight container in the fridge for about 3 days. You could also portion and freeze to have an easy meal later!
Kitchen Safety Tips:
Make sure to use pot holder when touching pots on the.
Turn the stove off as soon as you are done using it.
Step 1: Prep
Prep your cutting station by laying a damp cloth down and placing your cutting board on top.
Dice onion and green pepper, chop jalapeño and chives.
Rinse beans. Shred chicken.
Step 2: Sauté
Add olive oil to bottom of large pot over medium/high heat.
Sauté onion, green pepper, and garlic until onions are translucent.
Add in jalapeño and cook for about 1 minute, stirring occasionally.
Step 3: Stock & Season
Reduce to medium heat.
Add chicken broth, cumin, coriander, cayenne pepper, salt, pepper, smoked paprika, oregano, and chives. Stir to combine.
Step 4: Simmer
Add lid to pot and simmer.
Add sour cream, cream of chicken soup, beans, and corn.
Put lid back on pot and simmer until it bubbles around the edge.
Step 5: Chicken
Add chicken, stir to combine.
Continue simmering until fully heated through.
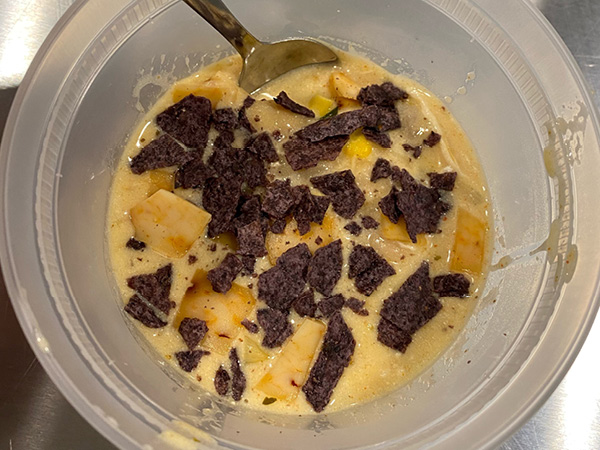
Step 6: Finish & Enjoy!
Let cool and serve with jack cheese and chips sprinkled on top.
Soup can be stored in an airtight container for up to 5 days or frozen for later!

Kitchen Safety Tips:
Check the oven before turning on to make sure that it is empty!
Always use an oven mitt!
Step 1: Preheat/Prep/Dry
Preheat oven to 350°
Spray pan with nonstick cooking spray.
Measure out flour, cinnamon, baking powder, and salt and sift into a mixing bowl.
Step 2: Sugar & Oil
Add sugar and vegetable oil to another mixing bowl. Cream together with hand mixer for about 3 minutes.
Step 3: Wet Ingredients
Add eggs and bananas to the bowl with sugar and oil.
Mix until combined.
Step 4: Combine
Add the dry ingredients to the bowl of wet ingredients in 3 different parts. Make sure to mix completely after each addition.
Step 5: Walnuts
Add desired amount of chopped walnuts to the batter and gently fold in.
Once batter is completely mixed, evenly divide into muffin tin or loaf pan.
Step 6: Bake & Enjoy!
Bake muffins for at least 20 minutes and until cooked completely.
If using a loaf pan, bake loaf for at least 45 minutes and until cooked completely.
Let cool and enjoy!!

Kitchen Safety Tips: Always open lid away from yourself or anyone else.
Cool soup , portion and freeze for a quick meal!
Beans add protein without meat!
Step 1: oil and vegetables
In a large pot on med-low heat, add onion, garlic and salt, cook 8 minutes.
Step 2: Add more Veg
Add carrots, celery, potatoes and cook 5 more minutes, stirring often.
Add Italian seasoning, stir and cook another minute.
Step 3: Broth and Water
Add broth and water to pot, slowly pouring
Step 4: Add more Veg
Add tomatoes, corn, peas, beans and bay leaf. Add pepper to taste.
Bring to a boil and then reduce to low. Simmer and cover for about 30 minutes, stirring occasionally.
Step 5: Remove and finish
Turn off and remove from heat. Pull bay leaf. Add parsley and lemon juice. Taste and if needed, add more S and P
Step 6: Enjoy!
Let cool a few minutes and Enjoy!!
Serve with bread

Kitchen Safety Tips:
Always use an oven mitt!
Try using tongs when working with an air fryer to grab your food so you do not burn your hands.
Step 1: Preheat and Prep
Preheat frying pan with oil over medium heat.
Shred cabbage and carrot and mice garlic.
Crack and whisk egg for egg wash.
Step 2: Sauté
Add sesame oil, ginger, garlic, cabbage, and shredded carrot.
Cook for about 2-3 minutes until the cabbage has wilted and becomes tender.
Add green onions, soy sauce, black pepper and stir.
Step 3: Assemble
Once all ingredients have been combined you may remove pan from heat.
Lay out all your egg roll wrappers and place the filling in the middle. Try to make them as even as possible.
Step 4: Wrap
Start by taking one corner and folding it on top of the filling. Then take the corner on the right and the corner on the left and fold those inward over the filling. Then roll everything up together like you’re rolling up a sleeping bag.
Step 5: Air Fry or Bake
Before you wrap it all the way, put a little egg wash on the final corner which will help seal the whole thing up. Brush entire egg roll in egg wash.
Place in your air fryer at 350 for 10 minutes. Flip halfway through.
Step 6: Finish and Enjoy!
If baking, place egg rolls on lined baking sheet. Bake at 325° for 12 minutes, flip, and bake another 8-12 minutes.
Remove from heat, let cool, and enjoy with your favorite Asian dipping sauce!!